Monday, December 13, 2010

Menu Plan Monday

We’ll all be at home this week and we have our first Christmas of the year on Saturday. I really can’t believe it’s already Christmas!

Here’s what’s on the menu this week:

  • Murphy’s Hot Hamburger; Potato spears; Greens
  • Mexican casserole; Salad
  • Hamburger patties in mushroom gravy; Brown rice; Greens
  • Drip beef sandwiches; fried okra

I feel like I’ve been in a culinary rut, so I’ve decided to use recipes I received as wedding shower gifts. I’ll use one new recipe every week until I’ve used them all. There are really only five or so that I haven’t tried yet, but this will be a good push to try something new!

The new recipes this week are the Mexican casserole (shower) and Drip beef sandwiches (who else, The Pioneer Woman!). I’m really looking forward to those sandwiches!

Have a great week!

Monday, December 6, 2010

Menu Plan Monday

It’s been awhile since I’ve written out a full week’s worth of meals. While we’ve been getting by with my lack of planning, I feel much better now that my week is a little more planned out!

Here’s what’s on the menu this week:

  • Sirloin Steak, grilled; Sweet Potato Spears; Greens from the garden (if there are any…)
  • Hawaiian Baked Chicken (a recipe from my Taste of Home cookbook); Rice; Frozen green beans
  • Loco Moco; Rice; Egg; Fried Okra
  • Chicken Fried Steak; Mashed Potatoes; Gravy; Corn; Salad
  • Murphy’s Hot Hamburger; Potato spears; Some green vegetable to be determined later.

I know I need to post more often, but we have been crazy busy with work and trying to finish up some remodel projects. So, I’ll make no promises for now!!

Have a great week!

Thursday, November 18, 2010

Family Pictures

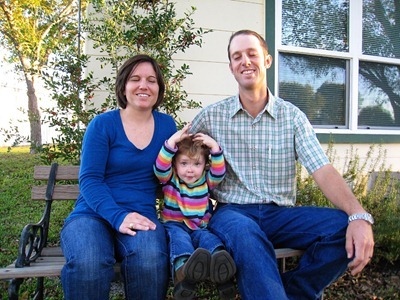
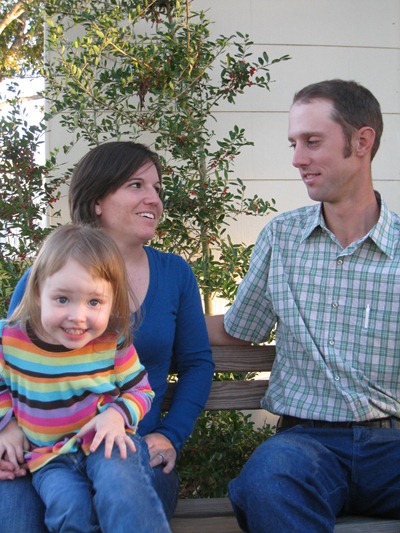
We have so few family pictures, that a couple of weekends ago, when we were getting together at Aunt Barbara’s, I rounded up my hoodlums and took some pictures.

None of these made the cut, but there are a couple I’m holding close to the vest that are in contention for the Christmas card. Didn’t want to spoil it!!

IMG_7235 copy

IMG_7238 copy

This one is cute with Elizabeth leaning on Travis, but the exposure of the sky was just too bright and I’m not good enough in Photoshop to fix it!

IMG_7240 copy

IMG_7243 copy

IMG_7254

Aunt Barbara also wanted a picture with Elizabeth, but she didn’t cooperate quite so well! Most of them are just cute and funny to look at. We’re going to try again this weekend when we get together for Thanksgiving.

IMG_7259 copy

IMG_7261 copy

IMG_7262 copy

IMG_7263 copy

IMG_7264 copy

They were fed up with pictures and Elizabeth wanted that candy that she was promised if she sat still!

Oh, the joys of photographing a child who would rather play!!

Monday, October 18, 2010

Vodka Lemonade with Basil Syrup

Putting basil in a vodka lemonade made me a little wary, but after reading the recipe, I decided to give it the ‘ole college try! I’m so glad I did! I went light on the basil…and the flavor was plenty strong for me!

Let’s get started with the basil syrup.

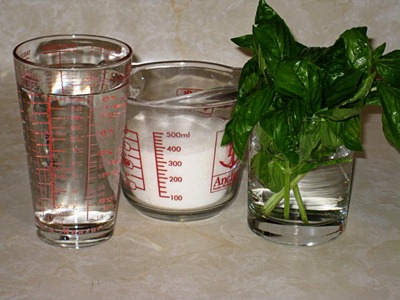
IMG_7089 copy

You’ll need:

  • 1 1/2 cups water
  • 1 1/2 cups sugar
  • 2-3 sprigs basil

IMG_7090 copy

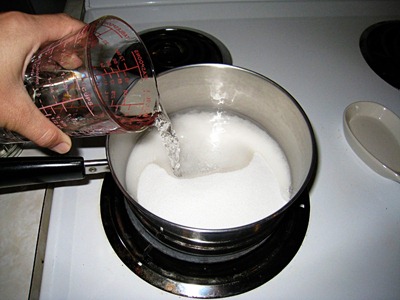
Pour the sugar and water into a pot.

IMG_7092 copy

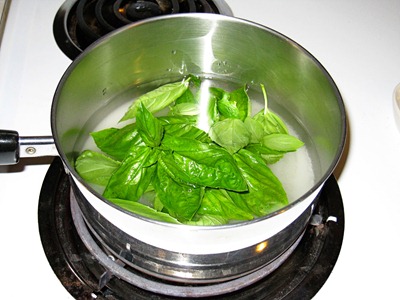
Throw in a couple of sprigs of basil, turn on the heat and bring to a boil, stirring to dissolve the sugar.

IMG_7093 copy

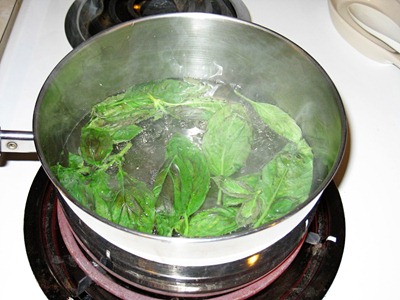
Simmer for a few minutes to really infuse the basil flavor.

IMG_7095 copy

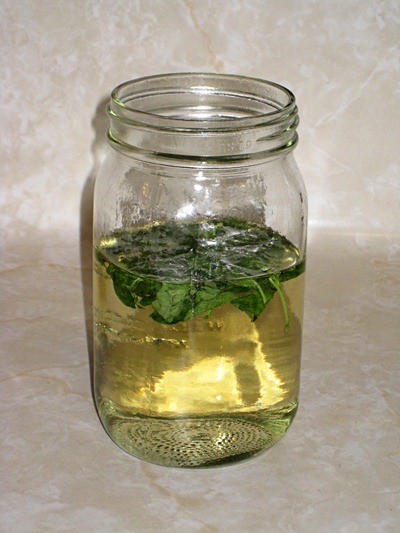
Cool slightly and then stash in the fridge until completely cool.

IMG_7097 copy

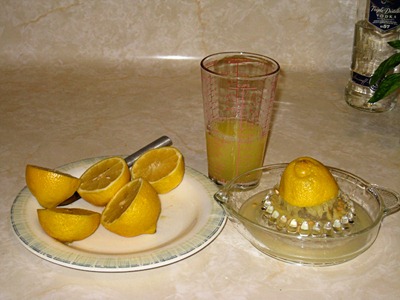
Meanwhile, start squeezing some lemons! I didn’t have quite enough lemon juice, so I added water to get 1 1/2 cups. To boost the lemon flavor, I zested one of the lemons and added the zest the the juice to sit for awhile.

IMG_7099 copy

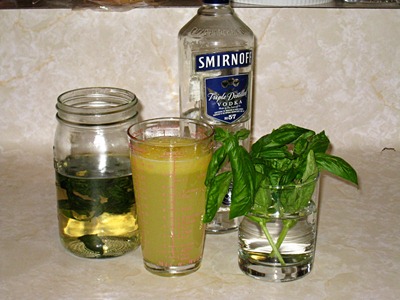
Now for the good stuff! You’ll need the basil syrup, 2 cups vodka, 1 1/2 cups lemon juice, a couple more sprigs of fresh basil.

IMG_7100 copy

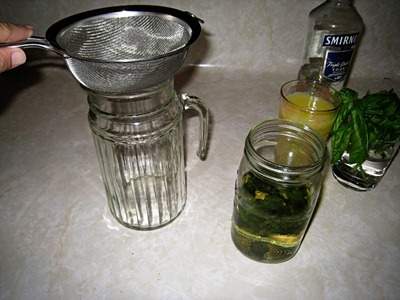
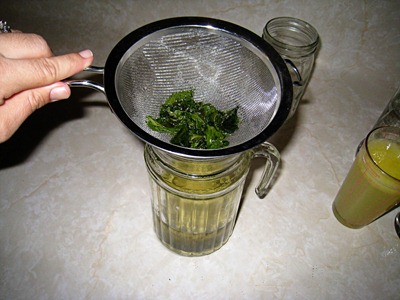
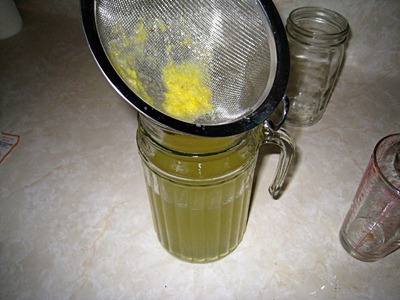
Use a strainer when you pour the liquids into the pitcher. I don’t like to have “pulp” in my drinks!

IMG_7101 copy

Pour in the basil sugar syrup.

IMG_7102 copy

And the lemon juice.

IMG_7104 copy

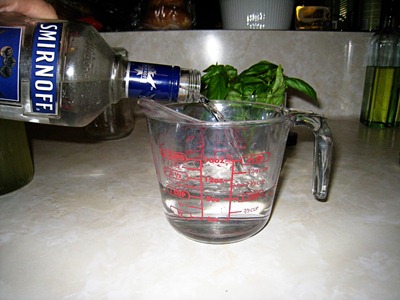
Measure out 2 cups of vodka…

IMG_7105 copy

And add vodka to your shopping list!

IMG_7106 copy

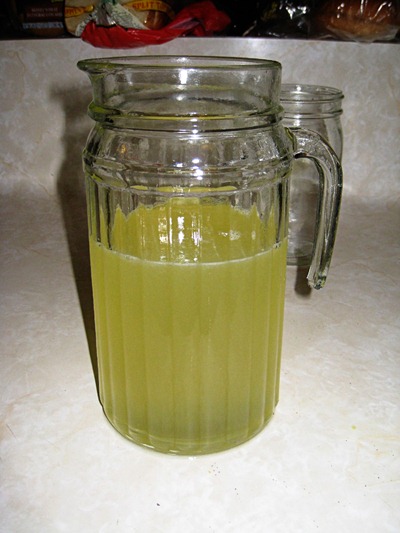
Ooo, looking tasty!

IMG_7107 copy

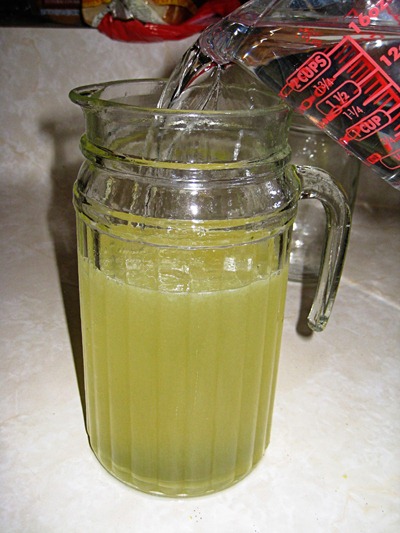
Add the vodka.

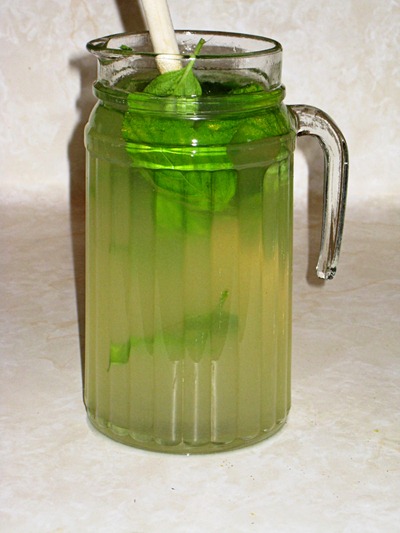
IMG_7109 copy

Stir in the sprigs of basil.

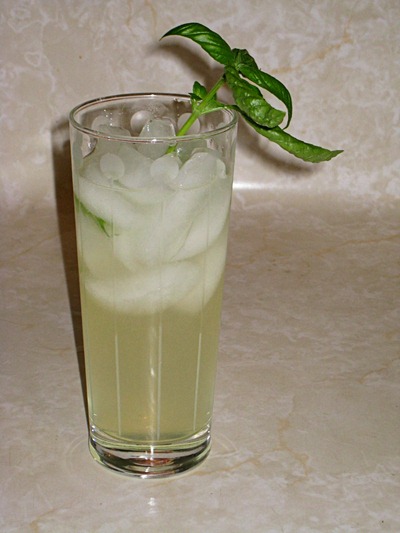
IMG_7110 copy

And serve over ice, garnished with another small sprig of basil. This may seem like a lot of basil, but it’s really not. It’s a pretty mild flavor.

Make this drink while it’s still warm outside…and before your basil freezes!

Friday, October 15, 2010

Egg Salad with Bacon & Basil

One of our favorite light lunches is egg salad with bacon and basil. Yummy! I saw this recipe last summer in Better Homes & Gardens magazine and decided to try it out.

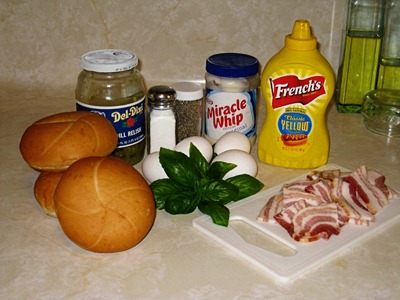
IMG_7057 copy

You’ll need eggs, bacon, basil, bread (any will do, I had Kaiser rolls on hand, but we’ve used regular ole sandwich bread, too), and your favorite fixings for egg salad. I use salt, pepper, dill relish, mayo or miracle whip, and mustard.

You can adjust the amounts of everything to make as much salad as you’d like.

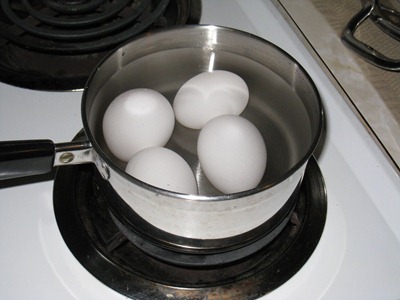
IMG_7058

Hard boil the eggs. I’m good at the boiling, the peeling…not so much! Luckily they’re not being deviled!

IMG_7059 copy

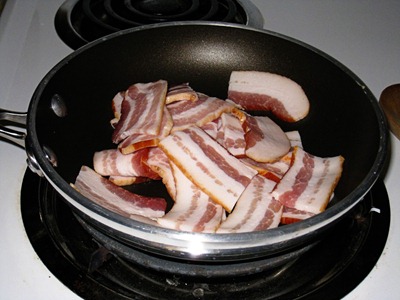
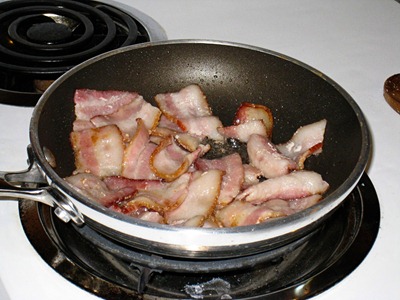
Fry up some bacon! Fry it however you like, but I cut mine into about 1” pieces. I’m not very good at frying an entire slice of bacon at once, so this works for me. I have perfect bacon nearly every time.

IMG_7061 copy

Mmm…smells good!

IMG_7062 copy

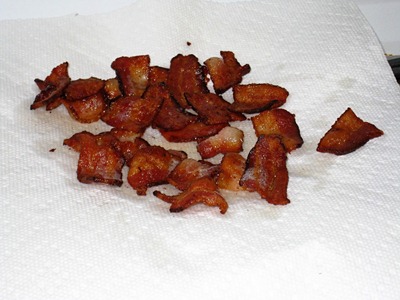
When the bacon has cooked, take it out and let it drain on a paper towel.

IMG_7067 copy

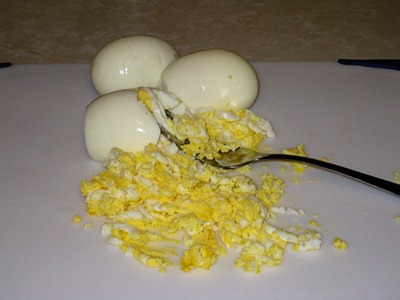
Peel the eggs and chop them up. I like to use a fork for this and it works really well.

IMG_7071 copy

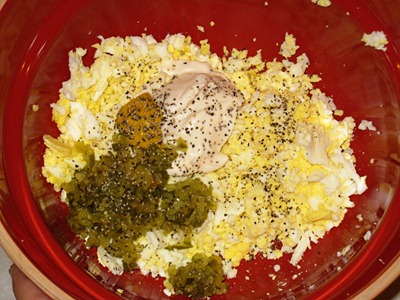
Add whatever you like to make your egg salad yummy.

IMG_7075 copy

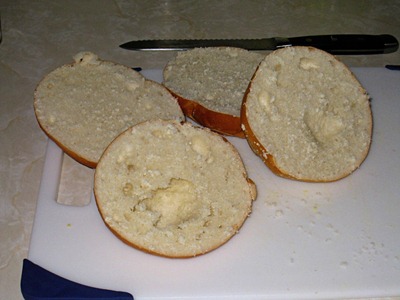
Slice your rolls and toast them. (We tried one roll not toasted, but it “squishes” too much and all of the salad falls out. You really need the bread hold up.

IMG_7077 copy

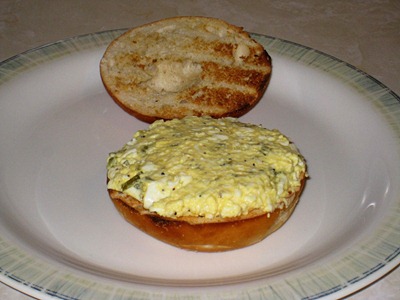
After your rolls have toasted, load them up with egg salad.

IMG_7080 copy

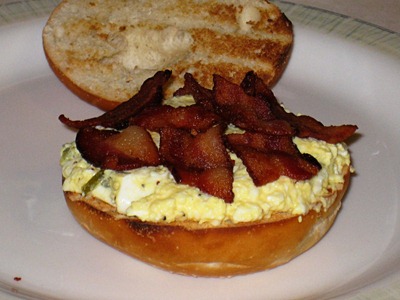
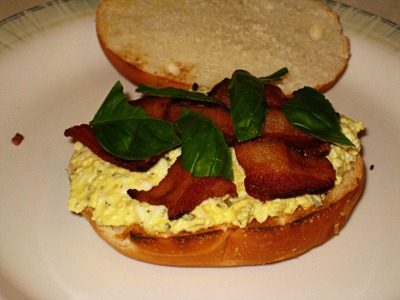
And a healthy portion of bacon.

IMG_7083 copy

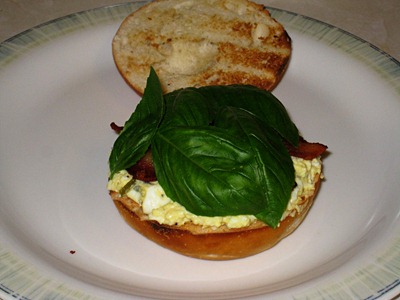
Last, add some fresh basil. I like the basil to completely cover my egg salad and bacon.

IMG_7084 copy

Travis likes to go light on the basil.

IMG_7087 copy

Serve it up! This is great with some salty chips!

Every time we eat this sandwich, we both say how good it is and that it just “hits the spot”. A nice light lunch for when you don’t want to be too miserable after you eat!

Wednesday, September 22, 2010

Cupcake Apron

Here are a few pictures of Elizabeth to help move your Wednesday along!

IMG_6927 copy

Elizabeth, Alex & Zach playing before bedtime. They all had a blast playing and swimming together! Lucky me, they all had pretty smiles for this quick picture!

IMG_6930 copy

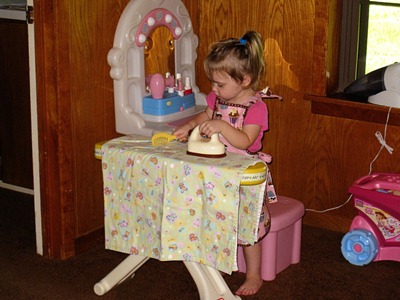
Elizabeth loves wearing her cupcake apron from Aunt Kate! We haven’t done much actual cooking in it though…it’s still so nice and clean!

IMG_6985 copy

Ah, yes…if only “playing” house and ironing were as much fun as she makes it look! We can’t do our housework without our apron on! I’m not sure what she’s doing with the comb on the blanket, I think it was just nearby at her vanity.

It hasn’t rained here now for 2 days, woo hoo! Maybe things will dry up a bit so we can mow our jungle! Hope y’all have a great rest of the week!

Tuesday, September 21, 2010

Spanish Rice

Spanish rice is one of my go-to side dishes when we’re having Mexican food. The stuff in the pouch is great for when you don’t have a lot of time to prepare a meal, but when I do have time (and especially when I’ve done my menu plan!) this is the Spanish rice I turn to. Lots of great flavor and plenty of leftovers!
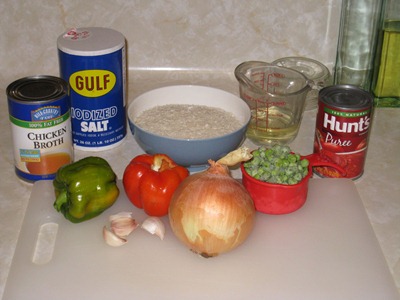
IMG_6939

You’ll need: white rice, canola oil (veg will do, too), yellow onion, bell pepper, garlic, tomato puree, salt, chicken broth, frozen peas.
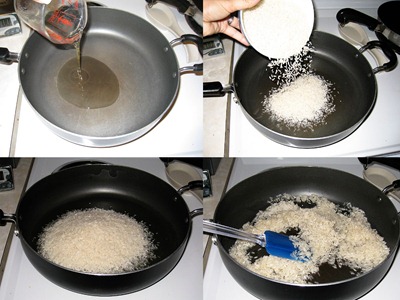
Oil & Rice

Add the oil to a large skillet. I use my 12” skillet for a whole batch. Turn the heat to medium high and then add the rice. Stir to coat all of the rice in the oil.
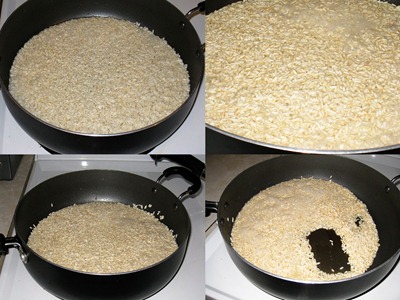
Browning Rice1

Sauté the rice until it turns a golden brown color. This will take 10-15 minutes.
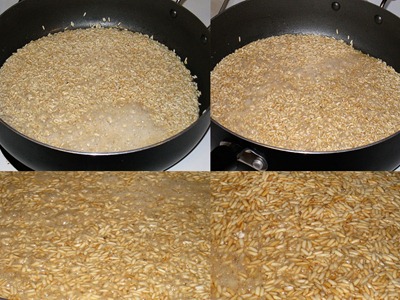
Browning Rice2

Keep sautéing until the rice is nice and brown. I went the entire 15 minutes. Stir frequently! In the last 5 minutes, I stir constantly. Just keep the rice moving some so it doesn’t burn the grains on the bottom.
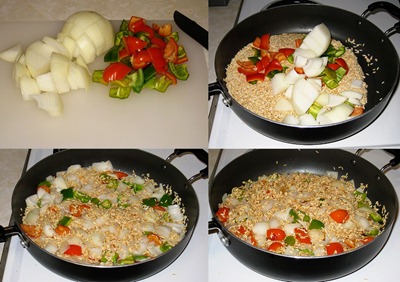
Adding Onion & Bell Pepper

Chop the onion and bell pepper into large 1” pieces. Add them to the rice and sauté for another 5-10 minutes until  the vegetables are nice and tender.
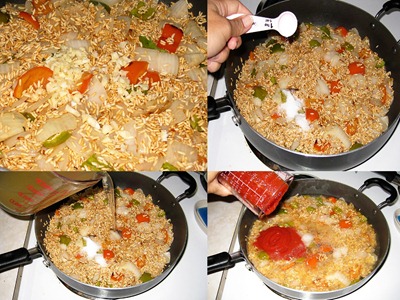
Adding Ingredients

Add the minced garlic and sauté for 2-3 minutes. Then add the salt, chicken broth and tomato puree.
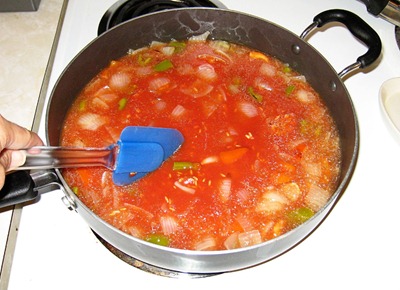
IMG_6975

Stir until combined and bring to a boil.
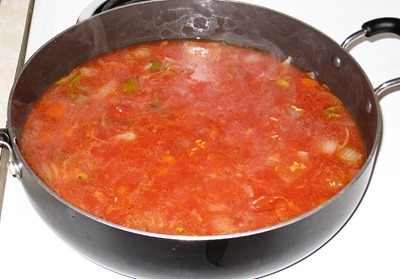
IMG_6977

Boil, stirring constantly, for 2 minutes.
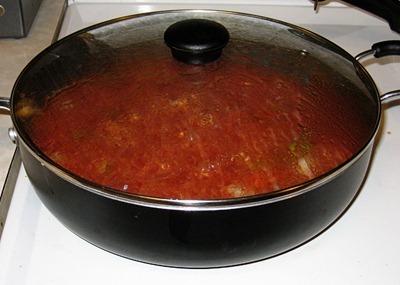
IMG_6978

After 2 minutes, put the lid on and turn the heat down to a simmer. Simmer for 20 minutes.
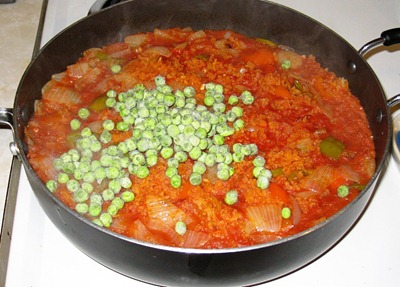
IMG_6979

After 20 minutes, turn off the heat, add the frozen peas, stir them in and put the lid on for an additional 5 minutes.
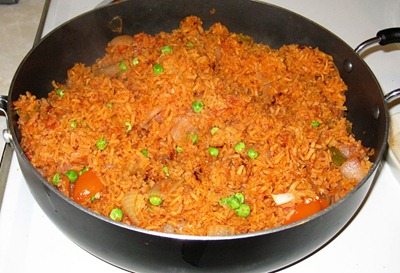
IMG_6980

After 5 minutes, remove the lid, give the rice another quick stir and serve!
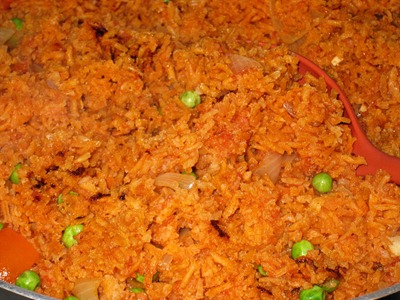
IMG_6981

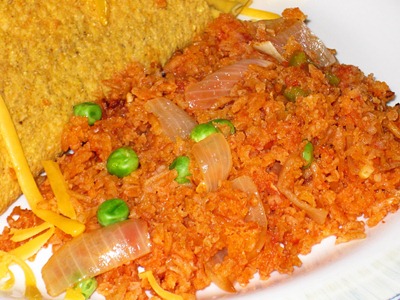
Gorgeous!
IMG_6983

Serve next to your favorite Mexican dish…we were having tacos that night. This rice would be really good if you were making “Freebirds” Burritos, too! Hmm…now I have a craving!

Oh, well! Here’s the full recipe!

Spanish Rice

  • 2 cups long grain white rice
  • 1/4 cup canola oil
  • 1 yellow onion, chopped into 1” pieces
  • 1 bell pepper, any color, chopped into 1” pieces
  • 3 cloves garlic, minced (or 3 heaping teaspoons of garlic powder")
  • 3/4 cup tomato puree
  • 2 teaspoons salt
  • 2 3/4 cups chicken broth
  • 3/4 cup frozen peas

Add the oil to a 12” skillet and put the heat on medium high. Add the rice and sauté until golden brown, between 10-15 minutes. Add the onion and bell pepper and continue sautéing for another 5-10 minutes, until the vegetables are soft.

Add the minced garlic and sauté for 2-3 more minutes. Add the tomato puree, chicken broth, and salt, turn the heat up and bring to a full boil, stirring constantly. Continue to boil for 2 minutes, still stirring!

Reduce the heat to low, cover and simmer for 20 minutes. After 20 minutes, turn off the heat, add the frozen peas, stir them into the rice, cover again for an additional 5 minutes.

After 5 minutes, give the rice another quick stir and serve!

*This recipe makes a ton of rice! I usually cut the recipe in half when I’m making it for us. Seriously, this recipe makes about 9 cups of “finished” rice!

Enjoy!