Thursday, July 29, 2010

Freezing Okra

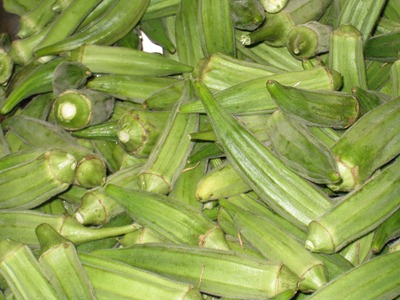
It’s no secret that I love okra. I miss being able to cook with okra during the winter months. I don’t necessarily need okra for every week of the winter, but once or twice a month is nice!

IMG_6410

The easiest way for me to store okra is to freeze it. I tried canning okra last year and it was a disaster! Freezing is a little messy, but a lot less frustrating!

IMG_6413

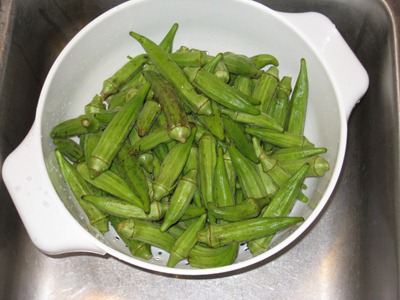
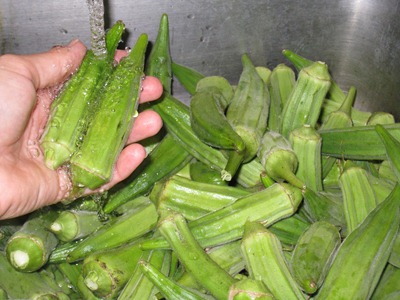
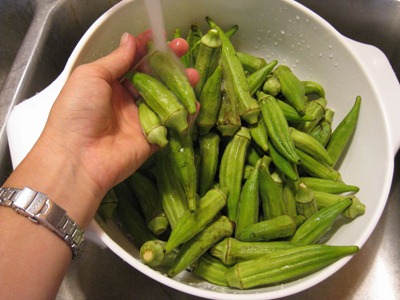
First things first. Wash that okra!

IMG_6415

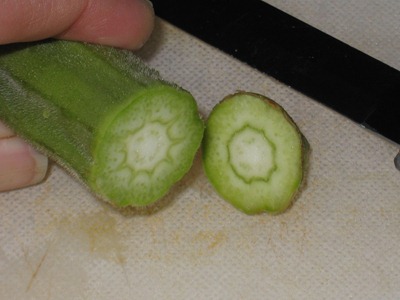
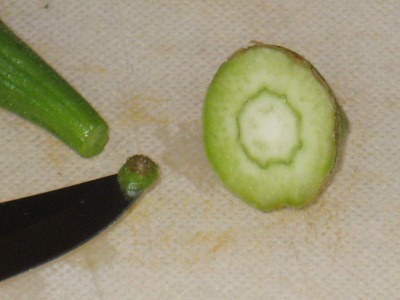
You want to cut the stem end off. Don’t cut too far into the pod. You don’t want to see the seeds. That keeps the water out of the pod during boiling and cooling.

IMG_6418

You also want to cut the very tip of the blossom end off, too. Not much, just the very tip!

IMG_6420

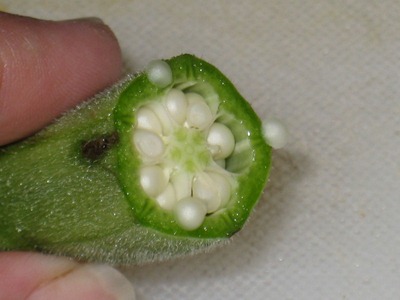
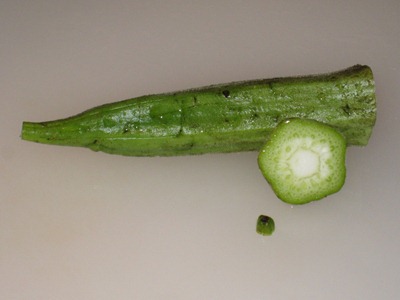
This is what you don’t want to see – the inside of the pod. I wouldn’t throw this out or anything. I still processed it. It may have held a little more water than the others, but not noticeable. 

IMG_6421

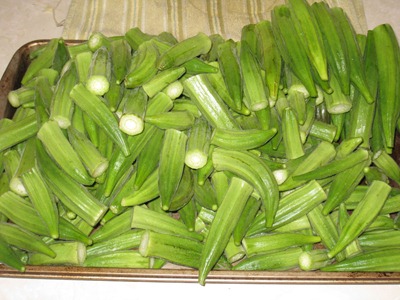
While your cutting, you want to split the okra into two piles, under 4” long and over 4” long. They have different boil times.

IMG_6422

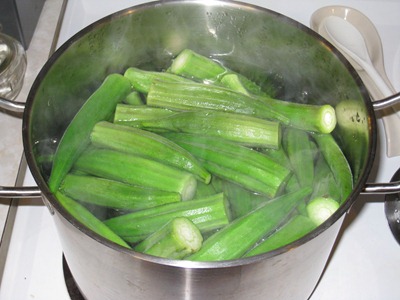
Put a pot of water on and bring it to a full rolling boil. Dump some okra in and start the timer. For pods that are over 4”, boil for 5 minutes; for pods that are under 4”, boil for 3 minutes.

IMG_6423

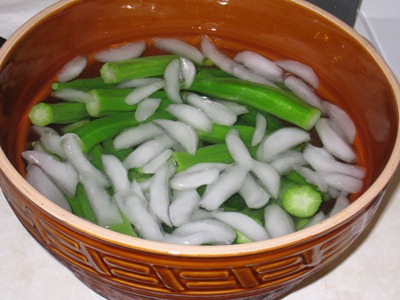
After boiling, submerge the okra immediately into an ice bath to stop the boiling.

IMG_6427

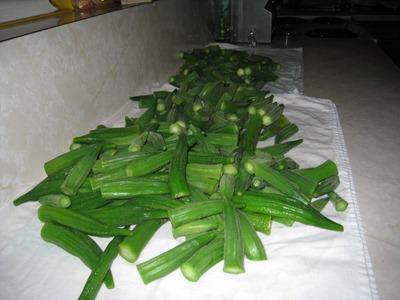
Drain the okra from the ice bath and then lay out on a towel. Repeat until all of the okra is boiled. I like to take another towel and dry the okra a little better before I start the next step.

IMG_6431

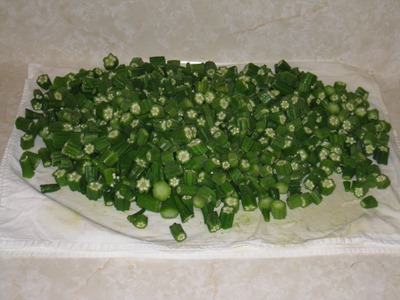
I like to have my okra already sliced when I pack it in bags to put in the freezer. The processing book I use says to cut into 1” pieces, but I just slice the okra to the size I like to use…just no larger than 1”.

After all of the okra is sliced, pack into quart freezer bags, remove all of the air, gently “squish” the bags flat for easier storage and stick in the freezer!

I forgot to get a picture of the finished, packed okra, but I ended up putting up eight quarts of okra. Not too shabby!

If you have okra in your garden and find yourself wishing you had some in the winter, I encourage you to at least try freezing it. I don’t believe that you’ll be disappointed!

Wednesday, July 28, 2010

Rainbow

We’ve been cloudy and overcast for the last few days. Monday afternoon, we got a nice treat – a rainbow!

IMG_6444 copy

We didn’t get any rain here at the house until today, but there was plenty of rain around the area and the cooler breeze in the afternoons has been nice! Now that our rain chances have ended for the forecast-able future, I’m sure that the heat and humidity will be back with vengeance!

Apple Tart

Whoops, I promised this post two days ago! Sorry to keep you waiting!

I guess you could say that I was on an Ina Garden kick. I have been wanting to make her French Apple Tart for quite awhile, so when some fresh, local apples became available, I jumped on the chance to finally try my hand at this recipe!

Turns out, I’m not quite as fancy or as French as Ina Garten, so this is my, um, Rustic Apple Tart!
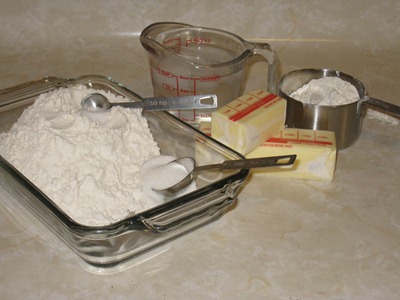
IMG_6362

You’ll need flour, salt, sugar, butter; ice water, and a little more flour to work the dough.
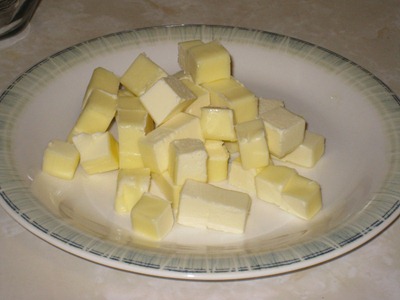
IMG_6363

Cut the butter into cubes.

Pulsing flour Adding Butter

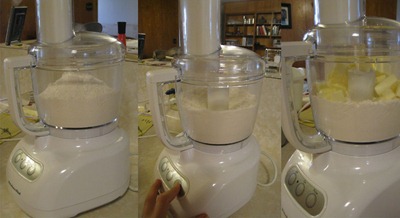
Add the flour, salt, and sugar to a food processor. Pulse to combine and then add in the diced butter.
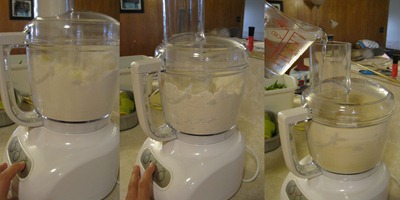
Pulsing butter Adding water

Pulse the diced butter with the flour mixture until pea sized chunks have formed. This did not turn out so well for me. If I try this again, I think I’d skip the food processor and just use some elbow grease with my pastry cutter.

While the food processor is on, add the 1/2 cup of ice water. This didn’t turn out so well for me either, most likely because the butter didn’t do exactly what it was supposed to do. I ended up with a sloppy, butter chunky dough that I added a little more flour to to get a decent consistency and then plowed on…
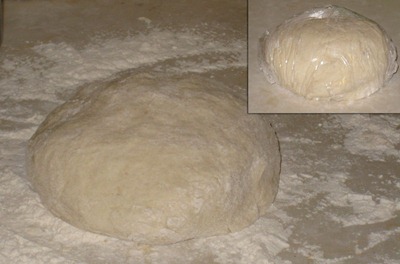
Wrap Dough

Turn the dough out onto a floured surface and form into a ball. Wrap the dough ball in plastic wrap and refrigerate for 1 hour.
Peeling Apples

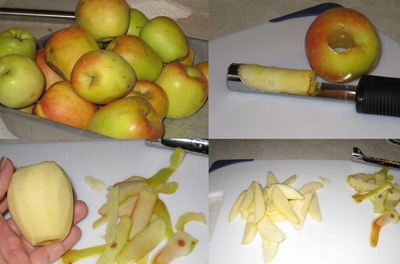
While your dough is chilling, core, peel, and slice your apples. The recipe says to not core, but instead use a melon baller to scoop out the seeds and then, when you slice, you’ll have nice pretty pieces. Hopefully, you caught where I said Rustic instead of French. I cored and sliced…nothing fancy!

To keep my apples from browning, I put them into a bowl and covered them with water until I needed them.
Rolling Dough

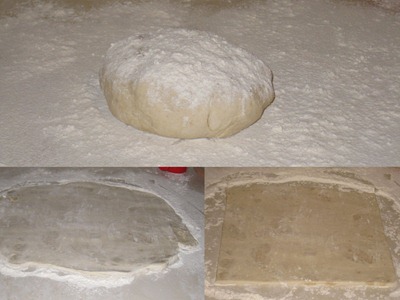
Once you’re finished with the apples and an hour has passed, unwrap the dough and put it onto a well-floured surface. Roll out the dough and cut into a 10x14” rectangle. Hmmm…I’m not so great at following these directions! I did cut my dough into a rectangle – not the right size – but then I used all of the extra dough to make an additional tart. See below.
IMG_6393

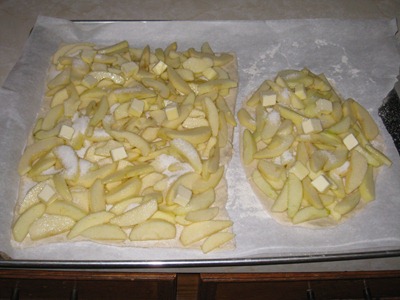
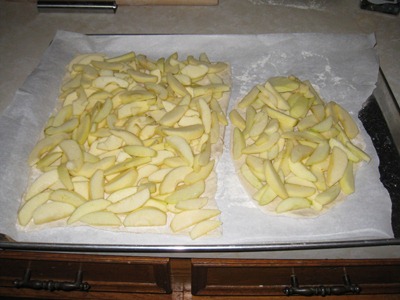
Place the dough onto a parchment paper lined baking sheet. Spread the apples onto the dough. Here, Ina Garten would make a beautiful display by lining up all of the apples in perfect rows running diagonally on the dough. Me, not so much. Rustic, people!!
IMG_6398

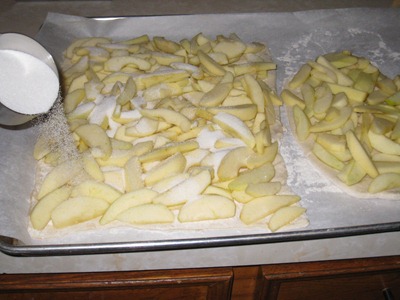
Sprinkle the apples with more sugar…

IMG_6399

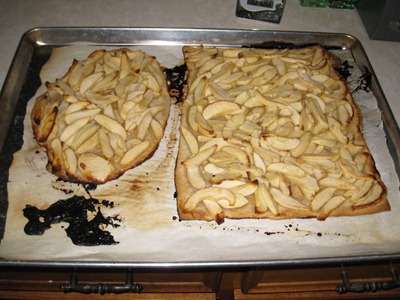
And dot with another half stick of butter. Bake at 400 degrees for 45 minutes to 1 hour, until the pastry is browned and the edges of the apples start to brown.
IMG_6400

Juices will run out from the apples, and smell a little, but that’s no big deal, the tart will be just fine. Do, however, make sure that you’ve sufficiently lined your baking sheet. Some of the juice ran out past the paper and I very nearly did not get it all scraped off of my baking sheet!
IMG_6401

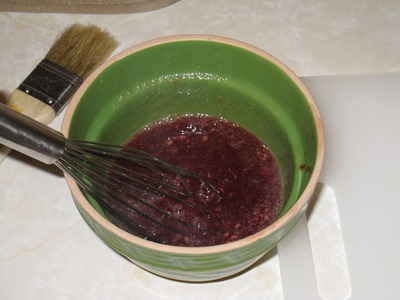
The recipe calls for a glaze made out of Apricot jelly or jam and rum. I had neither. Instead, I used a jar of my Plum Jam and thinned it with a little water. Heat it up in the microwave for just a few seconds, stir, and you’re ready to glaze!
IMG_6404

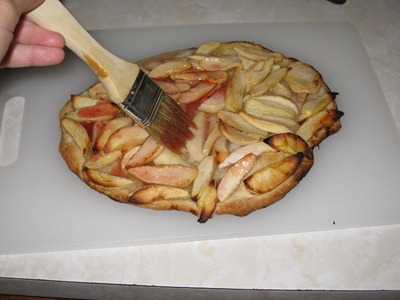
Brush the fruit glaze over the apples.
IMG_6405

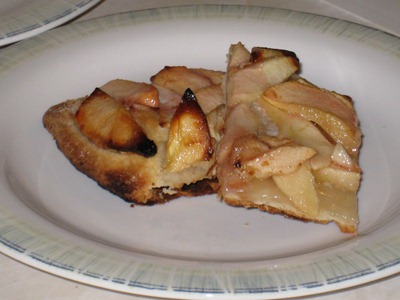
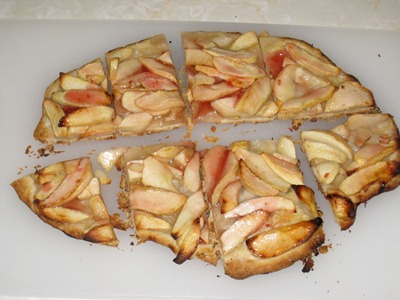
And then slice your tart.

IMG_6408

Mmm…dig in! This tart was very delicious. Travis thought it was a nice change and the plum did very well in complementing the apples. The apples dry out some in the oven, so they really taste more like, well, dried or dehydrated apples. This was interesting because all of the sugars concentrate so nicely.

If you decide to make this, you should serve it shortly after taking it out of the oven while the dough is still crisp and try not to have leftovers. The dough tends to get very soggy and doesn’t keep for very long. You may be able to warm it up in the toaster oven to re-crisp the dough,, if you do end up having some the next day.

Enjoy something a little different!

~~~~~~~~~~~~~~~~~~~~~~~~~~~~~~~~~~~~~

Here’s the recipe, unchanged, straight out of Ina Garten’s Back to Basics cookbook:

For the pastry

  • 2 cups all-purpose flour
  • 1/2 teaspoon kosher salt
  • 1 tablespoon sugar
  • 12 tablespoons (1 1/2 sticks) cold unsalted buttter, diced
  • 1/2 cup ice water

For the apples

  • 4 Granny Smith apples
  • 1/2 cup sugar
  • 4 tablespoons (1/2 stick) cold, unsalted butter, small-diced
  • 1/2 cup apricot jelly or warm sieved apricot jam
  • 2 tablespoons Calvados, rum, or water

For the pastry, place the flour, salt, and sugar in the bowl of a food processor fitted with the steel blade. Pulse for a few seconds to combine. Add the butter and pulse 10-12 times, until the butter is in small bits the size of peas. With the motor running, pour the ice water down the feed tube and pulse just until the dough starts to come together. Dump onto a floured board and knead quickly into a ball. Wrap in plastic and refrigerate for at least 1 hour.

Preheat the oven to 400 degrees. Line a sheet pan with parchment paper.

Roll the dough slightly larger than 10x14 inches. Using a ruler and a small knife, trim the edges. Place the dough on the prepared sheet pan and refrigerate while you prepare the apples.

Peel the apples and cut them in half through the stem. Remove the stems and cores with a sharp knife and a melon baller. Slice the apples crosswise in 1/4-inch-thick slices. Place overlapping slices of apples diagonally down the middle of the tart and continue making diagonal rows on both sides of the first row until the pastry is covered with apple slices. ([Ina] tens not to use the apple ends in order to make the arrangement beautiful.) Sprinkle with the full 1/2 cup sugar and dot the the butter.

Bake for 45 minutes to 1 hour, until the pastry is browned and the edges of the apples start to brown. Rotate the pan once during cooking. If the pastry puffs up in one area, cut a little slit with a knife to let the air out. Don’t worry! the apple juices will burn in the pan but the tart will be fine! When the tart’s done, heat the apricot jelly together with the Calvados and brush the apples and the pastry completely with the jelly mixture. Loosen the tart with a metal spatula so it doesn’t stick to the paper. Allow to cool and serve warm or at room temperature.
Monday, July 26, 2010

Menu Plan Monday

I didn’t cook much last week due to a fridge full of leftovers and the rare take-out night. I didn’t even get to the two meals that I had planned, so they’re on the menu for this week.  There’s a lot here and a couple of things are for lunch!

  • Loco Moco; Gravy; Rice
  • T-bone steak, grilled; Wild Rice; Cream Peas
  • Shepherd's Pie
  • Steak Sandwich on Submarine Rolls; Boiled Carrots; Salad
  • Stir-fry; Rice
  • Pioneer Woman’s Comfort Meatballs; Frozen Green Beans; Sweet Rice
  • Sirloin Steak; Baked Potatoes; Corn; Salad
  • Parmesan Chicken; Pasta; Broccoli

I think that’ll do it for this week! I’m working on an Apple Tart post, so I hope to have that up later today.

I hope you all have a great week!

Wednesday, July 21, 2010

Sweet Potato Spears

Sweet potato spears just might be the easiest side dish ever! I was never big on sweet potatoes at all until about 3 years ago. I’m not sure what changed, maybe Travis helped to broaden my taste buds’ palate.

A great thing about this side dish is that you can make as many or as few spears as you need in roughly the same amount of time.

IMG_6293

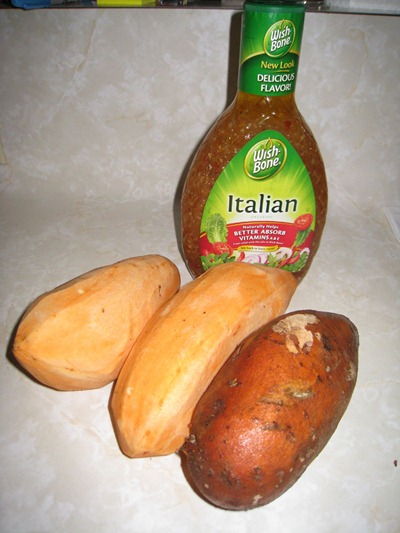
You’ll need sweet potatoes and Italian dressing. You can leave the peel on if you’d like, but I like to peel the potatoes.

Cutting Spears

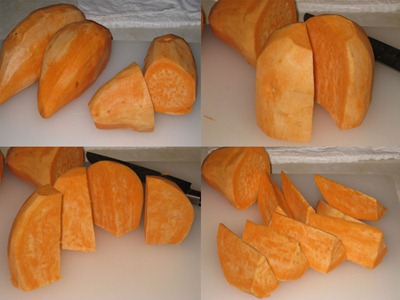
Cut the potatoes in half, cut the halves in half, cut those halves in half, and then those in half again. Whew! You just want spears that are all roughly the same size so they cook at the same speed.

IMG_6302

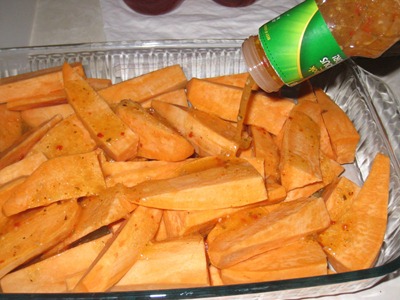
Throw the potatoes in a dish and pour on the Italian dressing. I like to do this ahead of time so the dressing has time to “stick” and I have a chance to turn them a few times.

IMG_6304

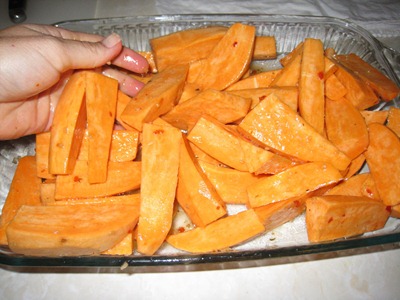
Toss to get all of the spears coated in the dressing.

IMG_6326

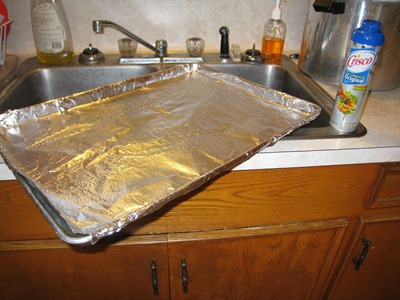
Turn the oven on to 400 degrees, line a baking sheet with tin foil, and spray the foil with cooking spray.

IMG_6333

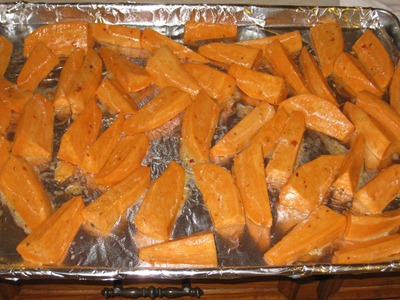
Spread the dressing-coated spears in a single layer on the baking sheet.

IMG_6334

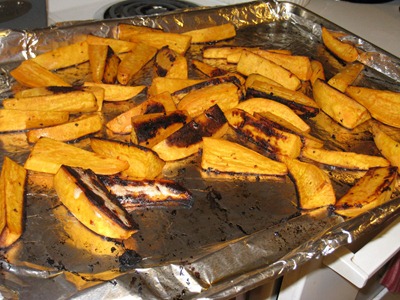
Pop in the hot oven for 25-30 minutes. I like to deter sticking by shaking the pan or flipping the spears every 10 minutes or so.

IMG_6352

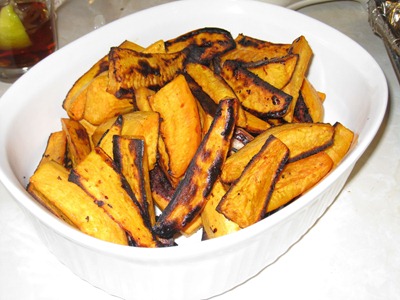
Bake until the spears are fork tender. They will also turn a pretty brown color when the sugars in the potatoes start to caramelize. That’s the good stuff!

IMG_6353

Please excuse the horrible picture, but you get the idea…serve ‘em up and eat ‘em! If you’d like, you can even mix in some russet potatoes, but I really like the sweet potatoes alone.

Give them a try, you’ll love such a simple, fast side dish to have in your menu rotation!

P.S. Leftover spears? Try them the next day with a little A1 sauce. You’ll be surprised at how good this odd combination tastes!

Hang on, I’m being corrected by my all knowing husband…Ok, dear, I’ll convey the message.

Well, if you’re like Travis, you won’t  be surprised. You’ll just say that A1 is good on just about anything, so why wouldn’t it be good on sweet potatoes?

Whether or not you have any leftover, you’ll love them the first day!

End of post, I promise.

Tuesday, July 20, 2010

Pan Fried Okra

We love fried okra. I don’t love taking the time to deep fry okra for a week day meal, though. Here’s a quick way to get fried okra any day of the week!

IMG_6306

 IMG_6308

Wash the okra.

IMG_6315

Trim both ends of the okra off.

IMG_6316

And cut into pieces.

IMG_6318

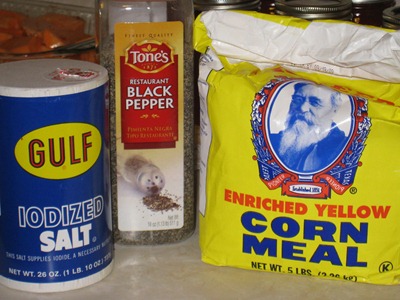
You’ll need salt, pepper, and corn meal.

IMG_6321

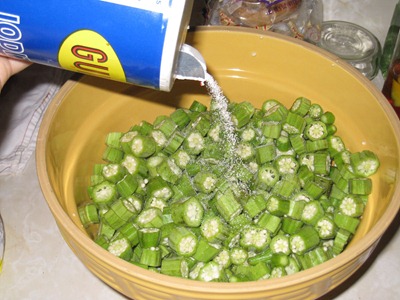
Sprinkle the okra with salt…

IMG_6325

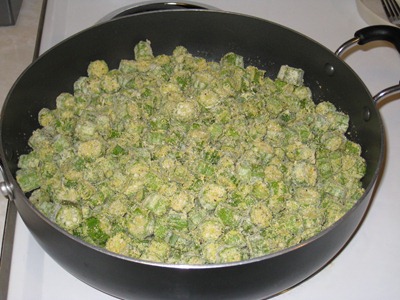
And stir to coat. I like to cut and salt my okra 30 minutes or so before I need to cook. This allows the natural okra “slime” to come out and the corn meal will adhere to the okra better. If you’re short on time, just sprinkle the okra with a little water before you coat with the cornmeal.

IMG_6338

Add some pepper…

IMG_6339

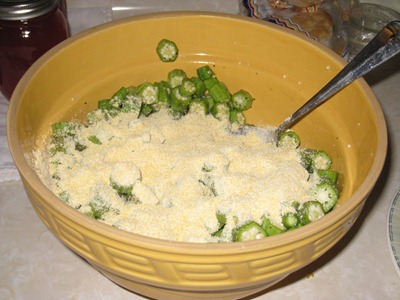
And enough cornmeal just to coat. I like to add a little, mix, add a little more, mix, and so on until the corn meal won’t hold anymore. That way there’s not a ton wasted on the bottom of the bowl.
IMG_6341

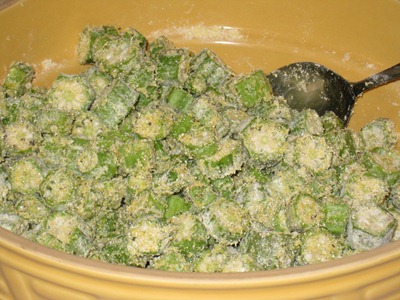
This looks good to me!

IMG_6332

Add some vegetable oil to the skillet. I cut a lot of okra, so I put just enough oil to cover the bottom of the skillet. You just have to watch and add more if necessary. The corn meal will soak up some of the oil, so just keep an eye on it so it doesn’t burn.

IMG_6345

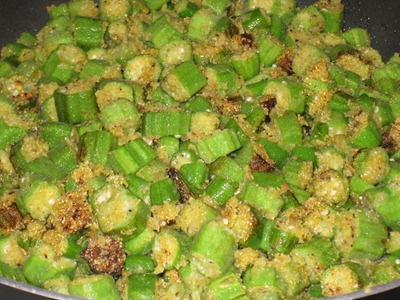
Fry, baby, fry! And stir! I like to shake the pan quite a bit to move the okra around without breaking it up too much.

IMG_6346

Taste often! When the okra is tender and has a little color, it’s ready to come off of the heat.

IMG_6347

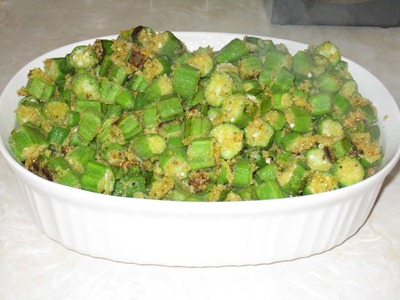
Serve it up! It’s a nice quick way to have fried okra without all of the fuss of deep frying. I like to save that for the weekend! Haha.

Monday, July 19, 2010

Tuscan Lemon Chicken

Last week we made Ina Garten’s Tuscan Lemon Chicken. Next time, I would actually cook it on the barbeque pit instead of the grill, but it tasted good all the same!

IMG_6233

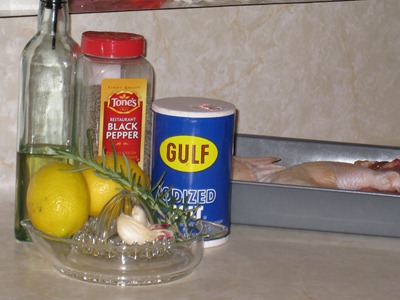
You’ll need a flattened chicken, olive oil, grated lemon zest, fresh lemon juice, garlic, fresh rosemary, and pepper.

IMG_6240

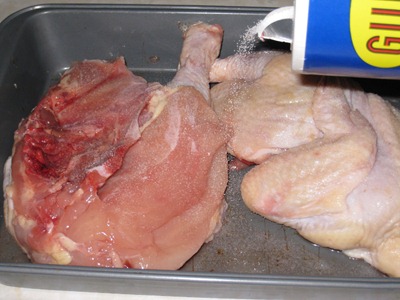
Salt the chicken.

IMG_6242

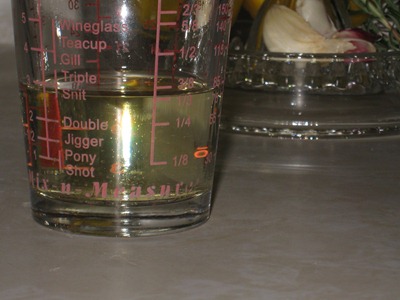
Combine the olive oil,

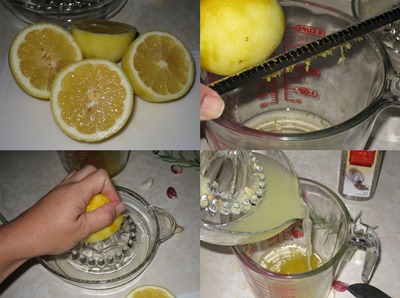
Prepping Lemons

Lemon zest, lemon juice,

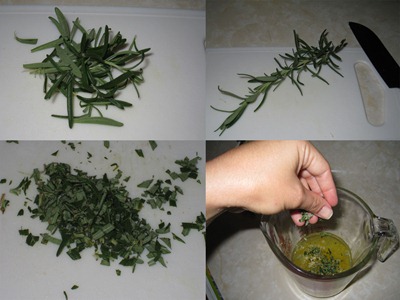
Prepping Rosemary

Fresh minced rosemary,

Garlic

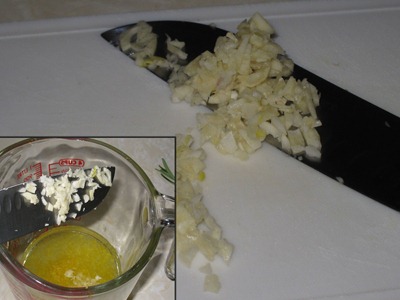
Minced garlic,

IMG_6266

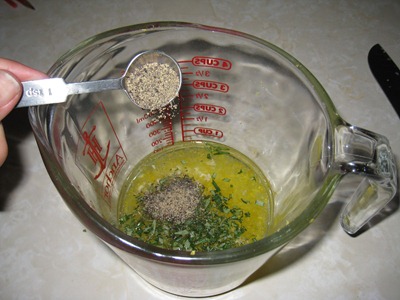
And pepper.

IMG_6270

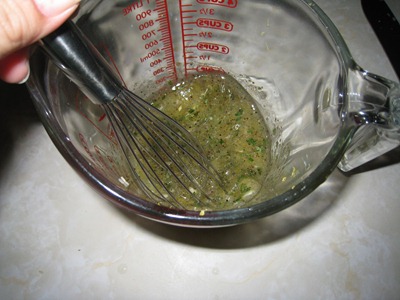
Whisk to combine.
IMG_6274

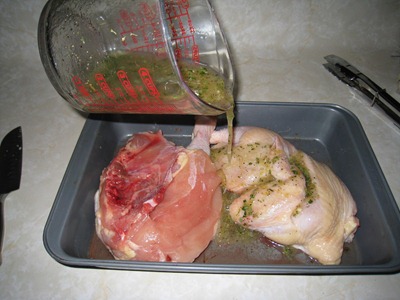
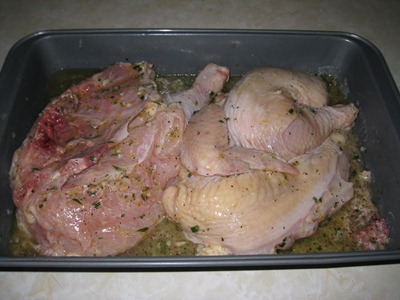
Pour over the flattened chicken.

IMG_6276

Turn to coat, cover, and marinate for at least four hours or overnight. Thanks to my menu plan, I was thinking far enough ahead to marinate the chicken the day before I wanted to cook it, so I let it marinate overnight. You do want to turn it once or twice while it’s marinating to make sure all the good stuff completely coats the chicken.

The next day…

IMG_6335

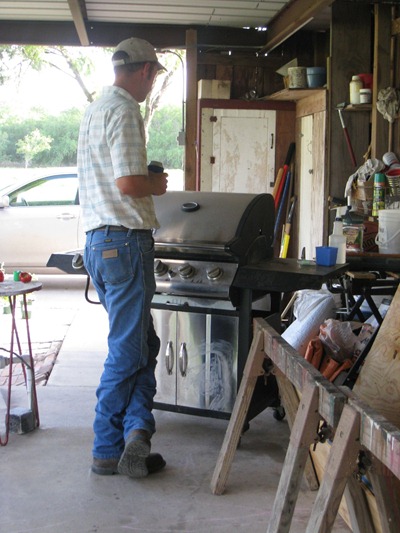
Get out the grill and your Grill Master! Ah, he looks like a natural!

IMG_6336

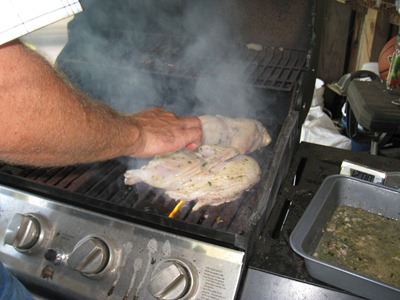
Place the chicken skin-side up on a medium heat grill.

IMG_6337

The recipe says to weight the chicken down while it’s cooking, but we decided not to.

IMG_6344

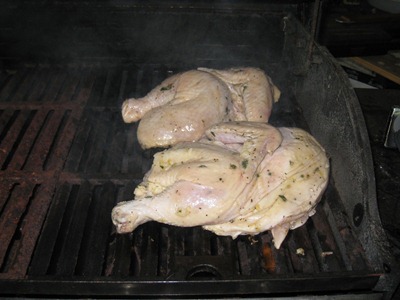
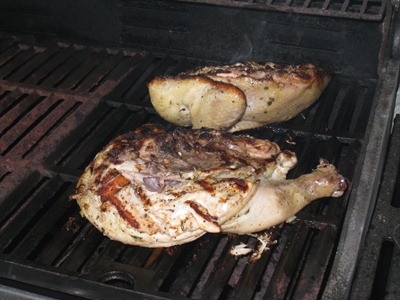
The recipe says that after 12-15 minutes, flip, so we did. But, we shouldn’t have. We had to cook the chicken a lot longer than the recipe says to because Ina was using a barbeque pit, not a grill. We learned that cook times will be drastically different with some foods, chicken being one of them.

Next time, we’ll try this on the pit and I think we’ll get very different results.

IMG_6328

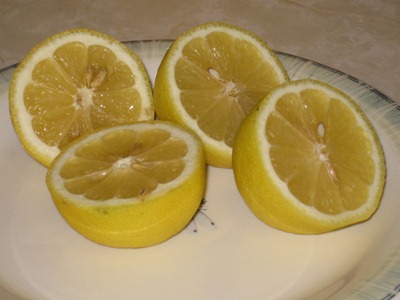
Cut another lemon or two and place cut side down on the grill or pit for the last 10 minutes of cooking.

IMG_6355

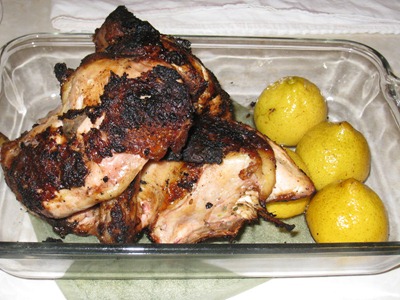
After your chicken has cooked (finally…) take it off of the heat and let it rest for a few minutes before you dig in.

IMG_6359

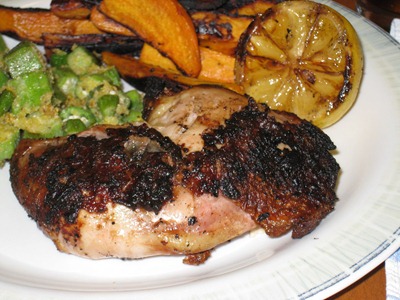
The end result was great flavored chicken even though the cooking really didn’t go as planned. Squeeze a little extra lemon juice on it if you so desire. I did!

Enjoy!
~~~~~~~~~~~~~~~~~~~~~~~~~~~~~~~~~~~~~Here’s the recipe, unchanged from Ina Garten’s back to basics cookbook:

  • 1 (3 1/2-pound) chicken, flattened
  • Kosher salt
  • 1/3 cup good olive oil
  • 2 teaspoons grated lemon zest (2 lemons)
  • 1/3 cup freshly squeezed lemon juice
  • 1 tablespoon minced garlic (3 cloves)
  • 1 tablespoon minced fresh rosemary leaves
  • Freshly ground black pepper
  • 1 lemon, halved

Sprinkle the chicken with 1 teaspoon salt on each side.

Combine the olive oil, lemon zest, lemon juice, garlic, rosemary, and 1 teaspoon pepper in a ceramic or glass dish just large enough to hold the flattened chicken. Add the chicken and turn to coat. Cover the dish with plastic wrap and refrigerate for at least 4 hours or overnight, turning once or twice.

When ready to grill, prepare a hot charcoal fire on one side of a grill (or turn a gas grill on low heat). Spread 1/4 of the coals across the other side of the grill. Place the chicken on the cooler side skin up, and weight it down with the dish you used for marinating. Cook for 12 to 15 minutes, until the underside is golden brown. Turn the chicken skin side down, weight again with the dish, and cook for another 12 to 15 minutes, until the skin is golden brown and the chicken is cooked through. Place the lemon halves on the cool side of the grill, cut side down, for the last 10 minutes of cooking. Remove the chicken to a plate or cutting board. cover with aluminum foil, and allow to rest for 5 minutes. Cut the chicken into quarters, sprinkle with salt, and serve with the grilled lemon halves.